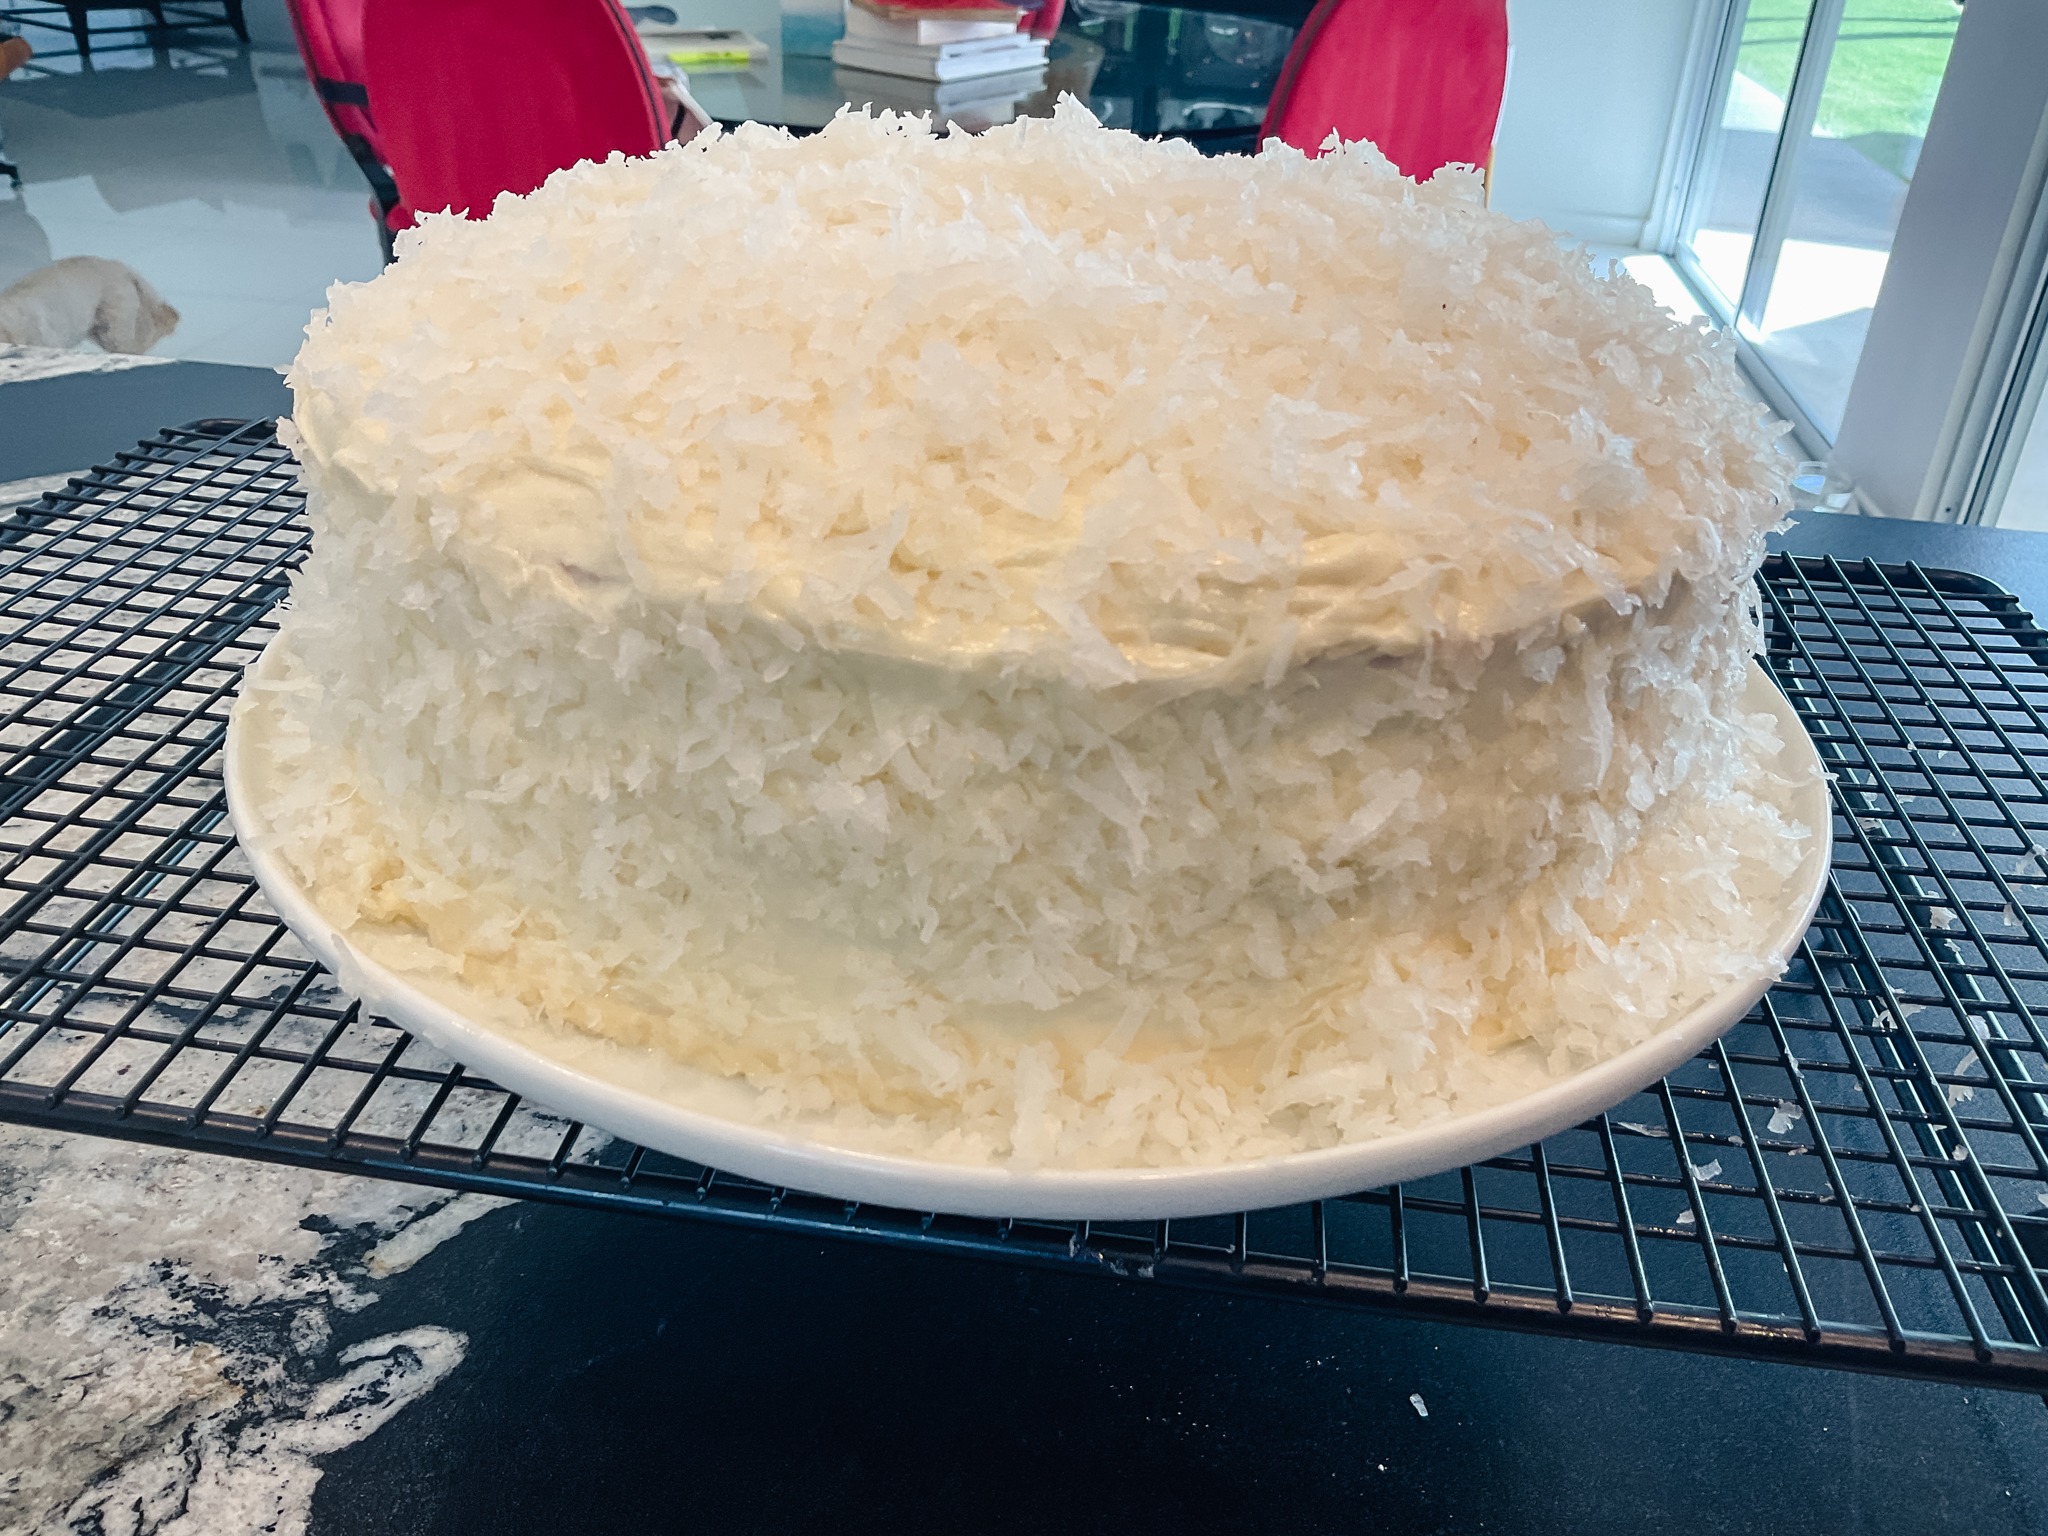
Dinner Party Famous Coconut Cake
By Dennis Littley
Adapted by Julia Pizzolato

This cake. It was a gift from the Recipe Fairy. A last-minute find that offered the same thrill as finding THE perfect black dress on sale at Bergdorf’s hours before the big event. In fact, this is the little black dress of cakes. You can literally take it anywhere, for any occasion. I mostly take it to dinner parties, where it has become a favorite. I get invited to dinners in hopes I’ll bring this cake. Sometimes they come right out and ask for it. It’s got all the things a coconut cake should have—moist layers, creamy frosting, and coconut flavor out the wazoo. It’s not a difficult cake, but it will require some focus. Take your time, enjoy the process, and of course, read the notes. I give you all the ways to avoid failure. Because I want you to have the best coconut cake you can make!
Ingredients
Cake
2 ½ cups cake flour (300 g)
1 tsp. salt
2 tsp. baking powder
½ tsp. baking soda
6 oz. unsalted butter, room temp. (65F)
1 ⅔ cups granulated sugar
5 large egg whites
½ cup sour cream
2 tsp. vanilla
1 tsp. coconut extract
1 cup coconut milk (full fat)
1 cup sweetened, shredded coconut
Coconut Buttercream Icing
1 cup (2 sticks) unsalted butter
8 oz. cream cheese
5 cups powdered sugar, sifted (567 g)
¾ tsp. vanilla extract
¾ tsp. coconut extract
⅛ tsp. salt
2 cups sweetened, shredded coconut (for assembly)
1-2 tbsp. coconut milk
Directions
For the cake
- Preheat oven to 350F. Grease three 9-inch cake pans, line with a parchment paper circle, and grease the circle.
- In the bowl of a stand mixer fitted with the paddle attachment, add the butter and sugar. Whip on medium-high speed until fluffy and creamy. Remember to scrape down the sides of the bowl. Don’t skip this!
- Add the egg whites and mix until well combined.
- Add the sour cream, vanilla extract, and coconut extract to the mixture and mix well. Continue scraping down the sides of the bowl as needed to be sure all ingredients are incorporated.
- With the mixer on low speed, slowly add the dry ingredients and coconut milk, mixing until well combined. Scrape down sides of bowl, as needed.
- Remove the bowl from the stand and gently stir in the shredded coconut by hand. Be sure no batter is stuck in the bottom of the bowl.
- Divide the batter evenly between the three pans.
- Bake on the center rack for 20-25 minutes until the toothpick test reveals only a few moist crumbs. When cakes are done, cool (in the pans) on a wire rack.
For the icing
- Place the softened butter and cream cheese in the bowl of a stand mixer fitted with the paddle attachment. Mix on medium speed until smooth and creamy. Scrape down sides of bowl as needed.
- Add the powdered sugar, coconut milk, vanilla extract, coconut extract, and salt with the mixer on low speed. Continue scraping the bowl.
- Once ingredients are added, continue mixing on high speed for approx. 3 minutes.
Assemble the cake
- Gently remove the layers from the pans. If cakes are rounded on top, use a large serrated knife to slice rounded top off for a flat surface. Place one layer on your serving plate or cake stand.
- Cover the top with a thin(ish) layer of icing, making sure it’s even across the top.
- Place the second on your base layer and add icing using the same process.
- Place the third layer on top and frost the top and sides.
- Cover the top and sides with the shredded coconut.
Place cake in the refrigerator to chill for at least one hour before serving.
Notes
- I used coconut oil to grease the pans and parchment paper. It just made sense.
- Coconut milk and Coco Lopez are not the same thing. Please use full-fat coconut milk for the best results.
- Stick with the cake flour. This is what makes the layers so light and fluffy.
- Don’t skip scraping the bowl. I know it seems unnecessary, but I assure you, it is key.
- I used a scale to evenly distribute the batter between pans. For me, that turned out to be approx. 450g per pan.
- The cake layers took right at 20-21 minutes in my oven to bake perfectly. Overcooking will, of course, dry them out. Watch them carefully. They are thin layers.
- The layers baked very flat for me. I didn’t need to slice the rounded top off, but if you do, you do.
- This cake requires a cool kitchen temp to successfully assemble without it melting into a puddle on your countertop. If it’s 100F outside and your kitchen is hot, beware.
- If you have time, wrap the layers individually in cling wrap and refrigerate them for a few hours before icing. This will make them much easier to ice.
- This cake stores really well in the refrigerator for 4-5 days, and it will freeze like a dream.
- If you look closely, you will see what a mess this picture is! The back half of my dog sneaking by, coconut shreds everywhere, and cookbooks piled up on the dining table. This is par for the course! 😉
